Hanging art at home? Tips from the Gallery Preparator
May 12, 2020
Tired of staring at the same walls while you #StayHome? If you’re ready to refresh your view at home, we thought a few tips from Jennifer Petteplace, the McMaster Museum of Art’s preparator, would be handy.
WHAT TOOLS DO YOU USE TO HANG A PICTURE AT HOME?
level (at the museum we have a laser-level. A gift from the gods.)
Hammer
Picture hook and Nail (sometimes 2)
though ideally, I use D-rings rather than wire/eye hooks on the back of the art.
Thumb tack
Tape measure
TOOL TIP
If you hang from two D-rings or at least from 2 points you can guarantee that your art will always hang straight and level and withstand vibrations from a passing bus.
LIGHTING
You may not notice, but over time works on paper will change and fade if you hang them in bright light. So, don’t hang your family photos in direct sunlight. (Unless you don’t like your family.)
Museum standard is to light a work on paper with no more than 50 lux.
Oh – and NEVER use those lights that attach to the top of picture frames unless you want to the image to burn away.
Hang your art so that it relates to the furniture. In a room full of chairs, the art should be placed to view while sitting. Not 6 inches from the ceiling!
The gallery standard, hanging so that the centre of the painting is at 54 – 56 inches from the floor, is intended for gallery viewers who are standing up, not at home.
SIZE
Generally, don’t put small works on a giant wall. Intimate art works for intimate spaces. Though you could hang a grid of several small works in a larger space. Though sometimes you can break the rules for dramatic effect – I did it myself and hung large painting in a small hallway.
A big painting on a small wall.
ARRANGEMENTS
If you are planning a grouping of works, lay them out on the floor. One you like the placement, take the outside measurements. Figure out where that size grouping fits on the wall (not too close to the ceiling and not just 4 inches over the couch) and hang the art working from the top down.
A wall of mirrors
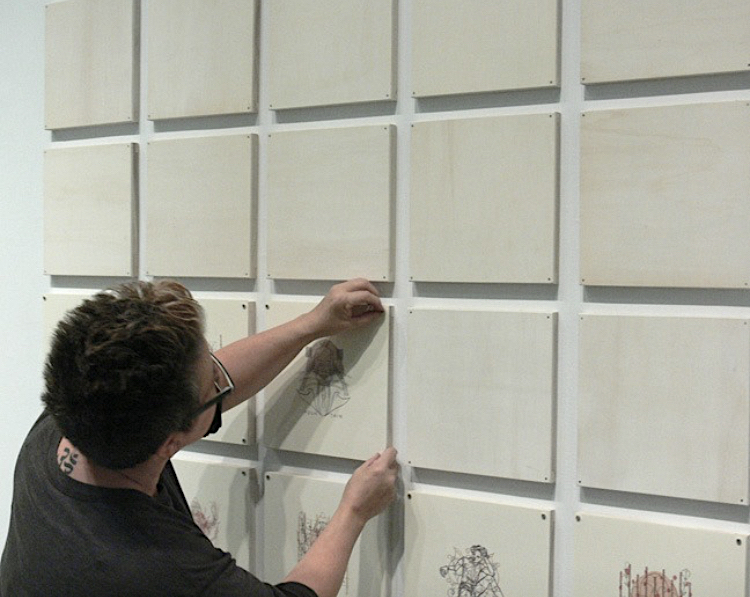
Hanging a grid
A level is indispensable and another helpful tip … If you are hanging a group of identically sized objects and want to guarantee they’ll look good, make sure that the distance between the objects is a divisor of the width of the object itself. (sounds complicated, but it’s not). For example, 16 inch panels look best with 2, 4 or 8 inches between them; 25 inch panels look best with 5 inches between them.
J.M.W. Turner exhibition at McMaster Museum of Art
There are many ways to hang groups of art when everything is a different size. You can line up the centre point of each work at the same height – 56 inches for example or you can do what we call tombstoning which is lining the top or the bottom of the works at the same height. Or, if you want to frustrate yourself after too much coffee, you can tombstone all four sides of the grid as seen in this installation shot below. To do this you need to lay it out on the floor like a puzzle first. Hang top row first, then two outer sides, then the bottom, then fill in the centre.
Installation view in the 2018 exhibition “#nofilterneeded: shining light on the Native Indian/Inuit Photographers’ Association, 1985 – 1992” at McMaster Museum of Art
What’s the most difficult thing you’ve ever installed?
Things that are very fragile, very heavy, and have a recessed hook are the hardest. Some that come to mind at the Museum are Anselm Kiefer’s Yggdrasil. It is large, very heavy (lead on top) and must be lifted from the bottom because the surface is so fragile. Like, Daniel Spoerri’s work – so heavy, with many fragile parts that you need to work around and the inset hook. Or Gerhard Richter’s Red Mirror – nowhere to grab.
And what’s that thumb tack for?
When you’re measuring for your nail hole, don’t make a penciled X or line on the wall. Just poke in the thumb tack. A dot marks the spot. Clean and simple.
– Jennifer Petteplace, Installation/Preservation Officer
Link to News Archive for a complete list of past news articles
Recognizing Emerging Voices: 2026 Integrated Arts (iArts) Awards at the McMaster Museum of Art May 7, 2026
The McMaster Museum of Art is proud to present and celebrate this year’s graduating Integrated Arts students through a series of awards, recognizing artistic excellence, collaboration, and innovation. From work that reflects the core values of the School of the Arts to projects that push creative boundaries and foster community — the SOTA Mission Award, Leadership & Community […]
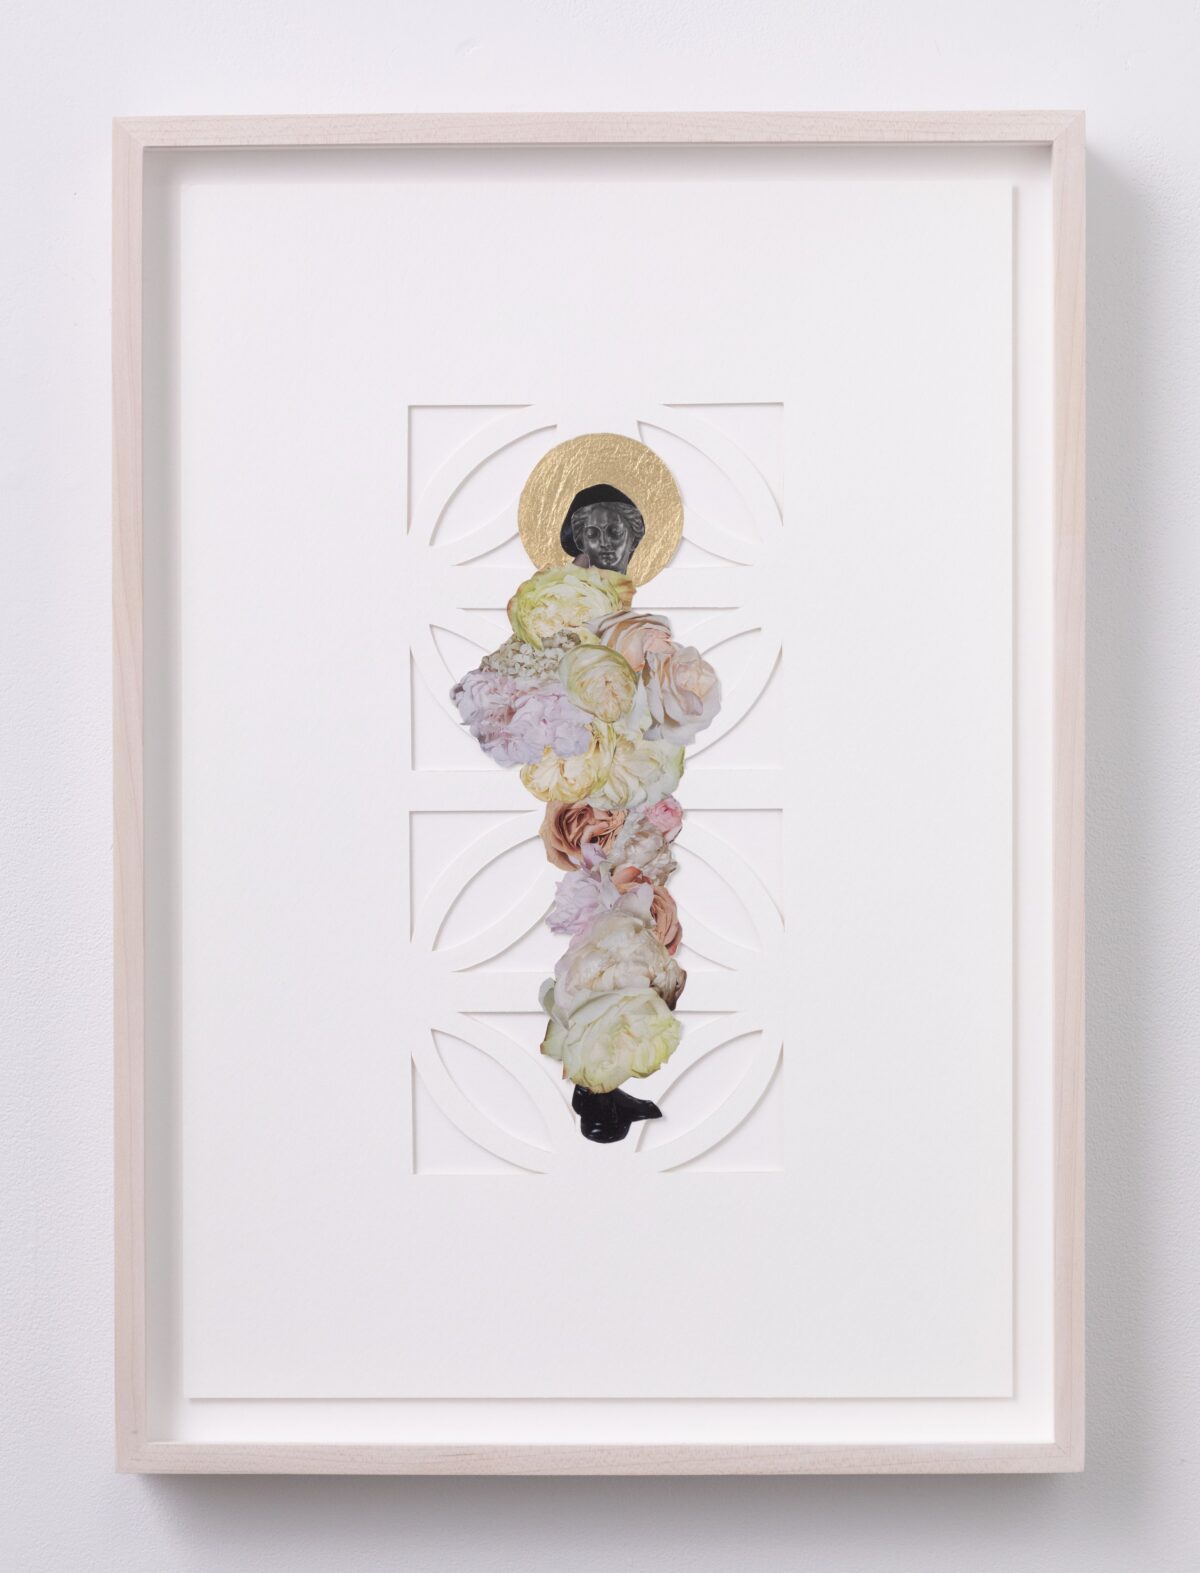
Beyond February: Collecting Care and Reimagining Black Histories March 3, 2026
The Black Madonnas of Perpetual Murmurs 19, 2023 collage, composition gold leaf, cutout on paper Museum of Art Collection Trust, 2024 As this year’s Black History Month come to a close, the McMaster Museum of Art wishes to extend its sincere appreciation to the Equity and Inclusion Office for their leadership and dedication in creating […]